Hi crafty friends!
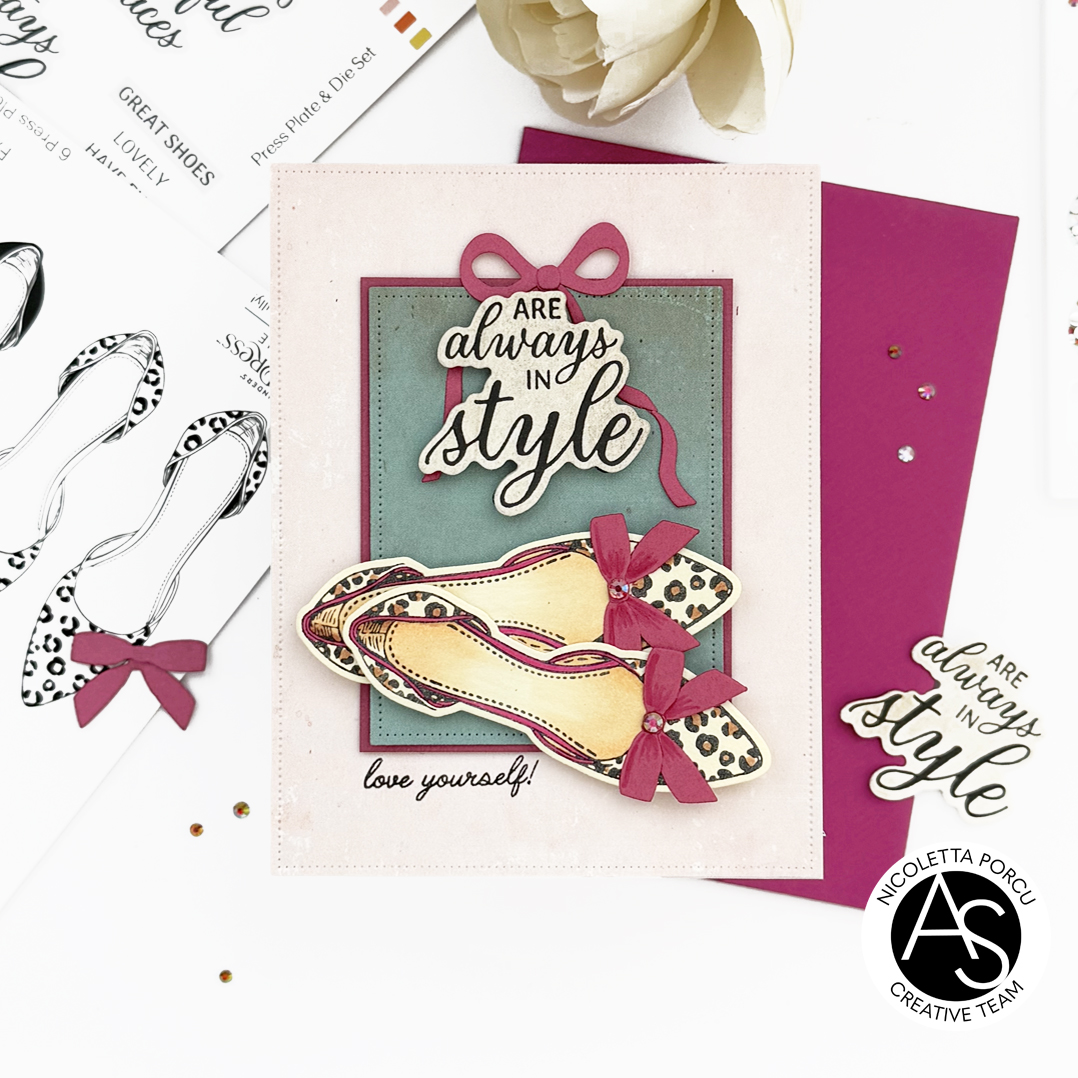
Is Nicoletta, @nicolettaporcu.design, here sharing with you a new card featuring some products of the new Alex Syberia Designs Chic Shoes new release!
I have always been obsessed with shoes so you can easily understand as much I love this collection.
The Bow Shoes have my heart since the digital version was released and I didi and other card using it. I can't resist to make anothe version of these amazing shoes and this time I colored them in red.
Hope you like them.
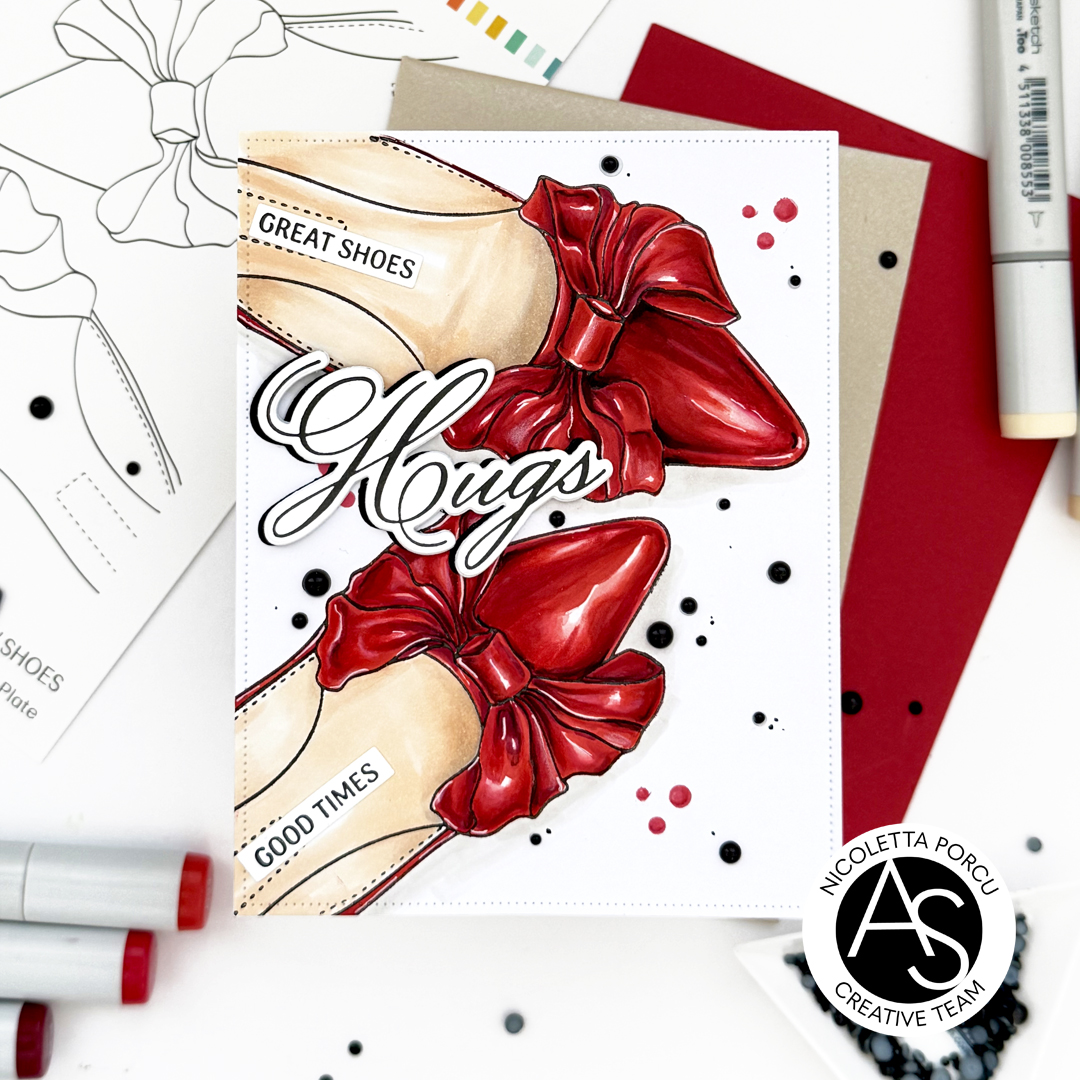
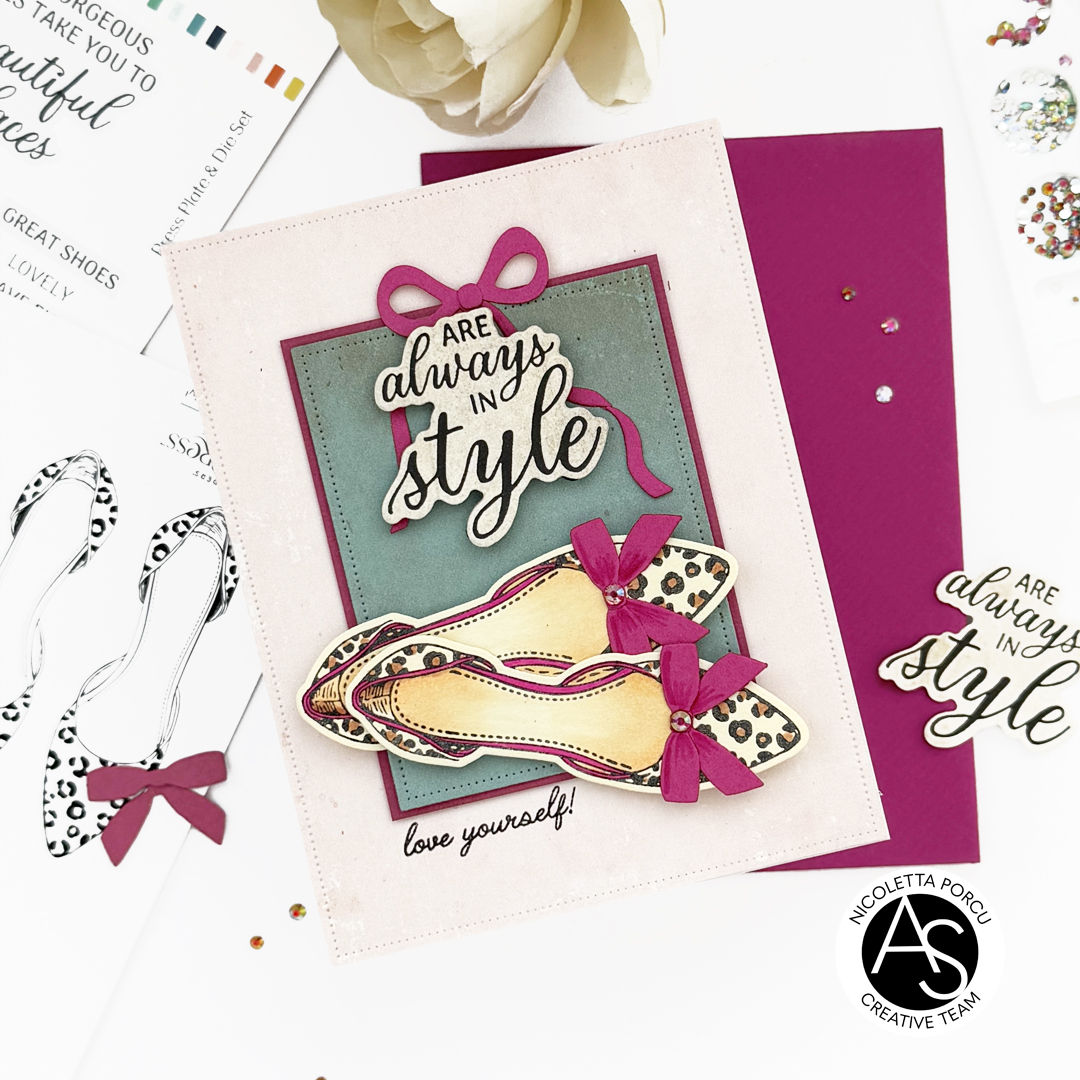
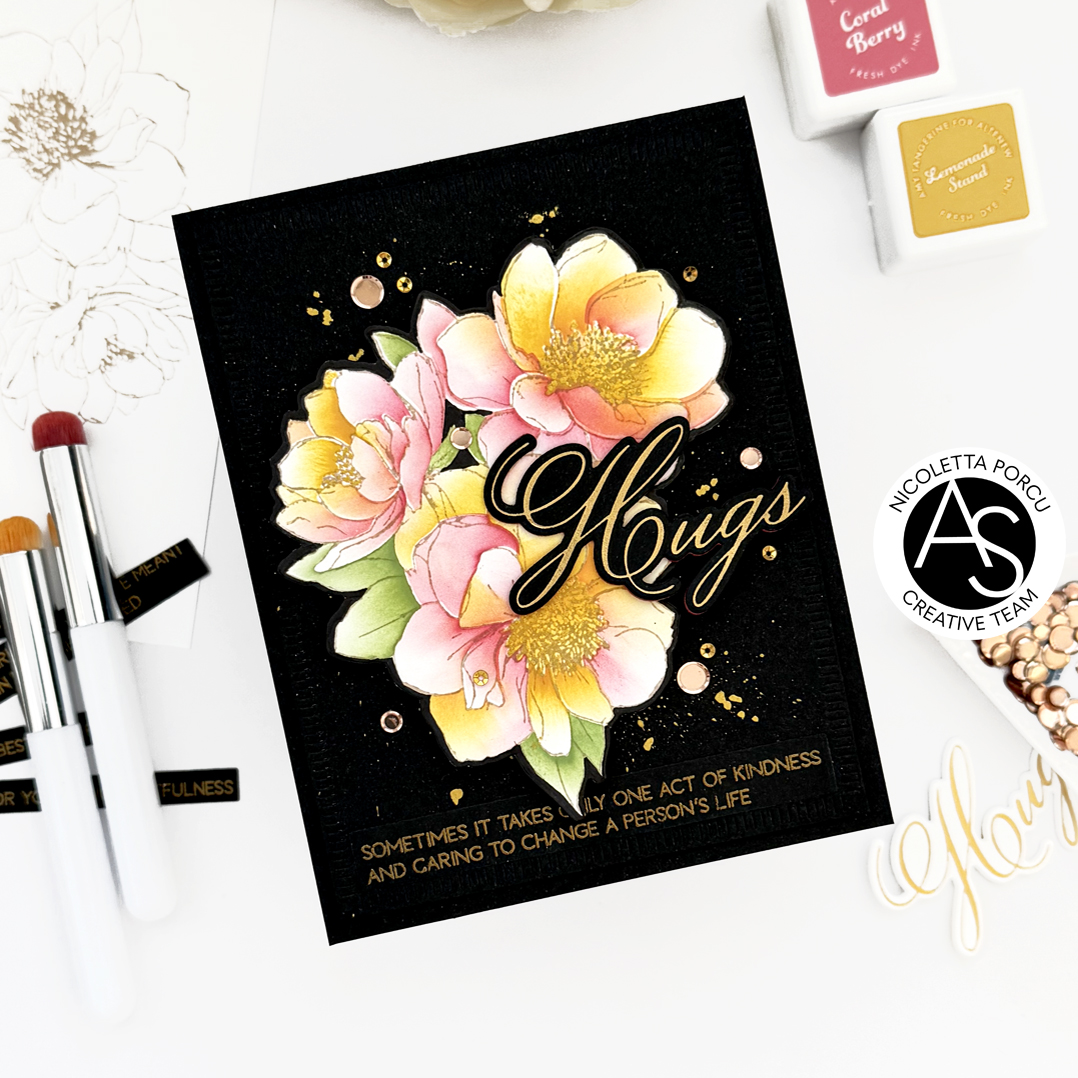
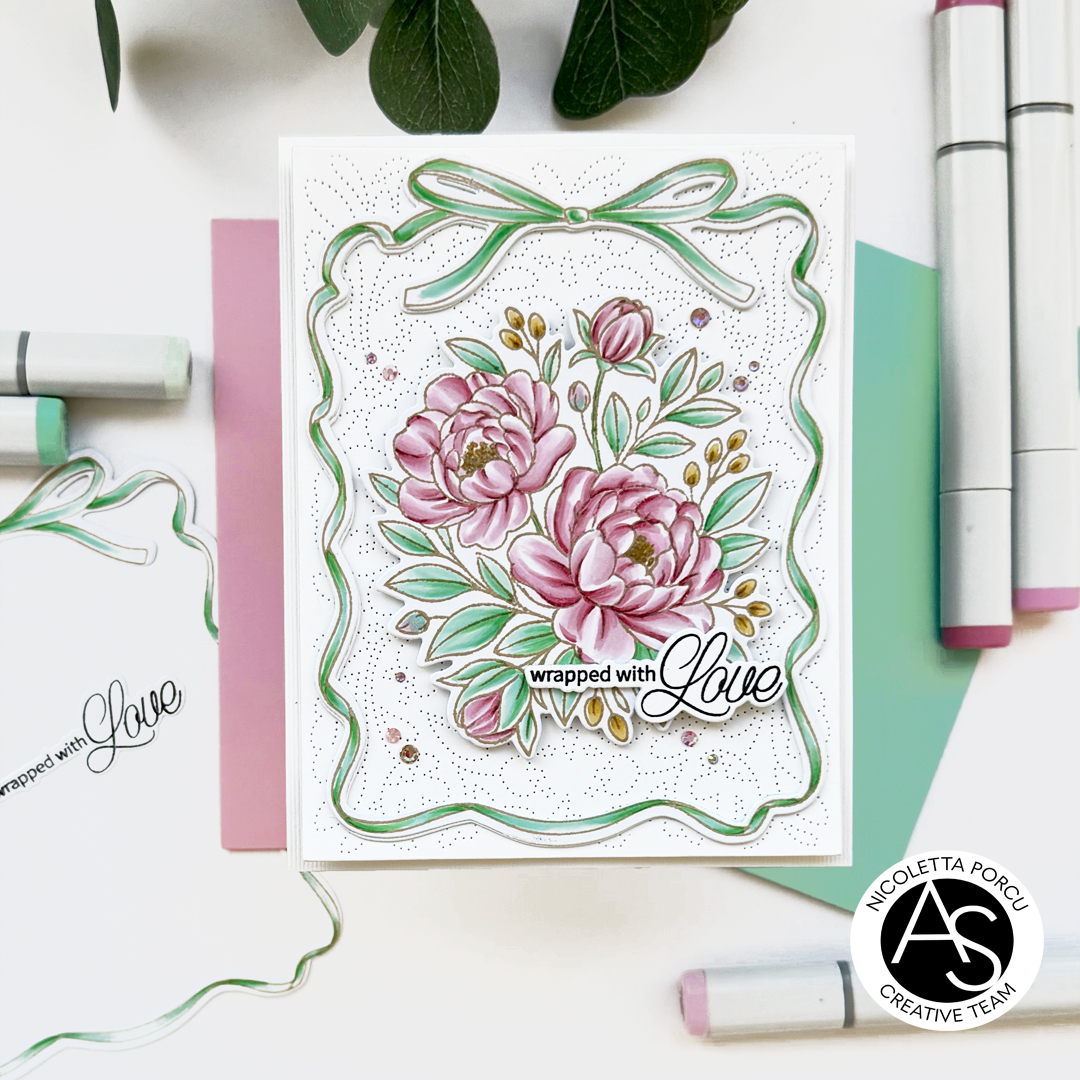
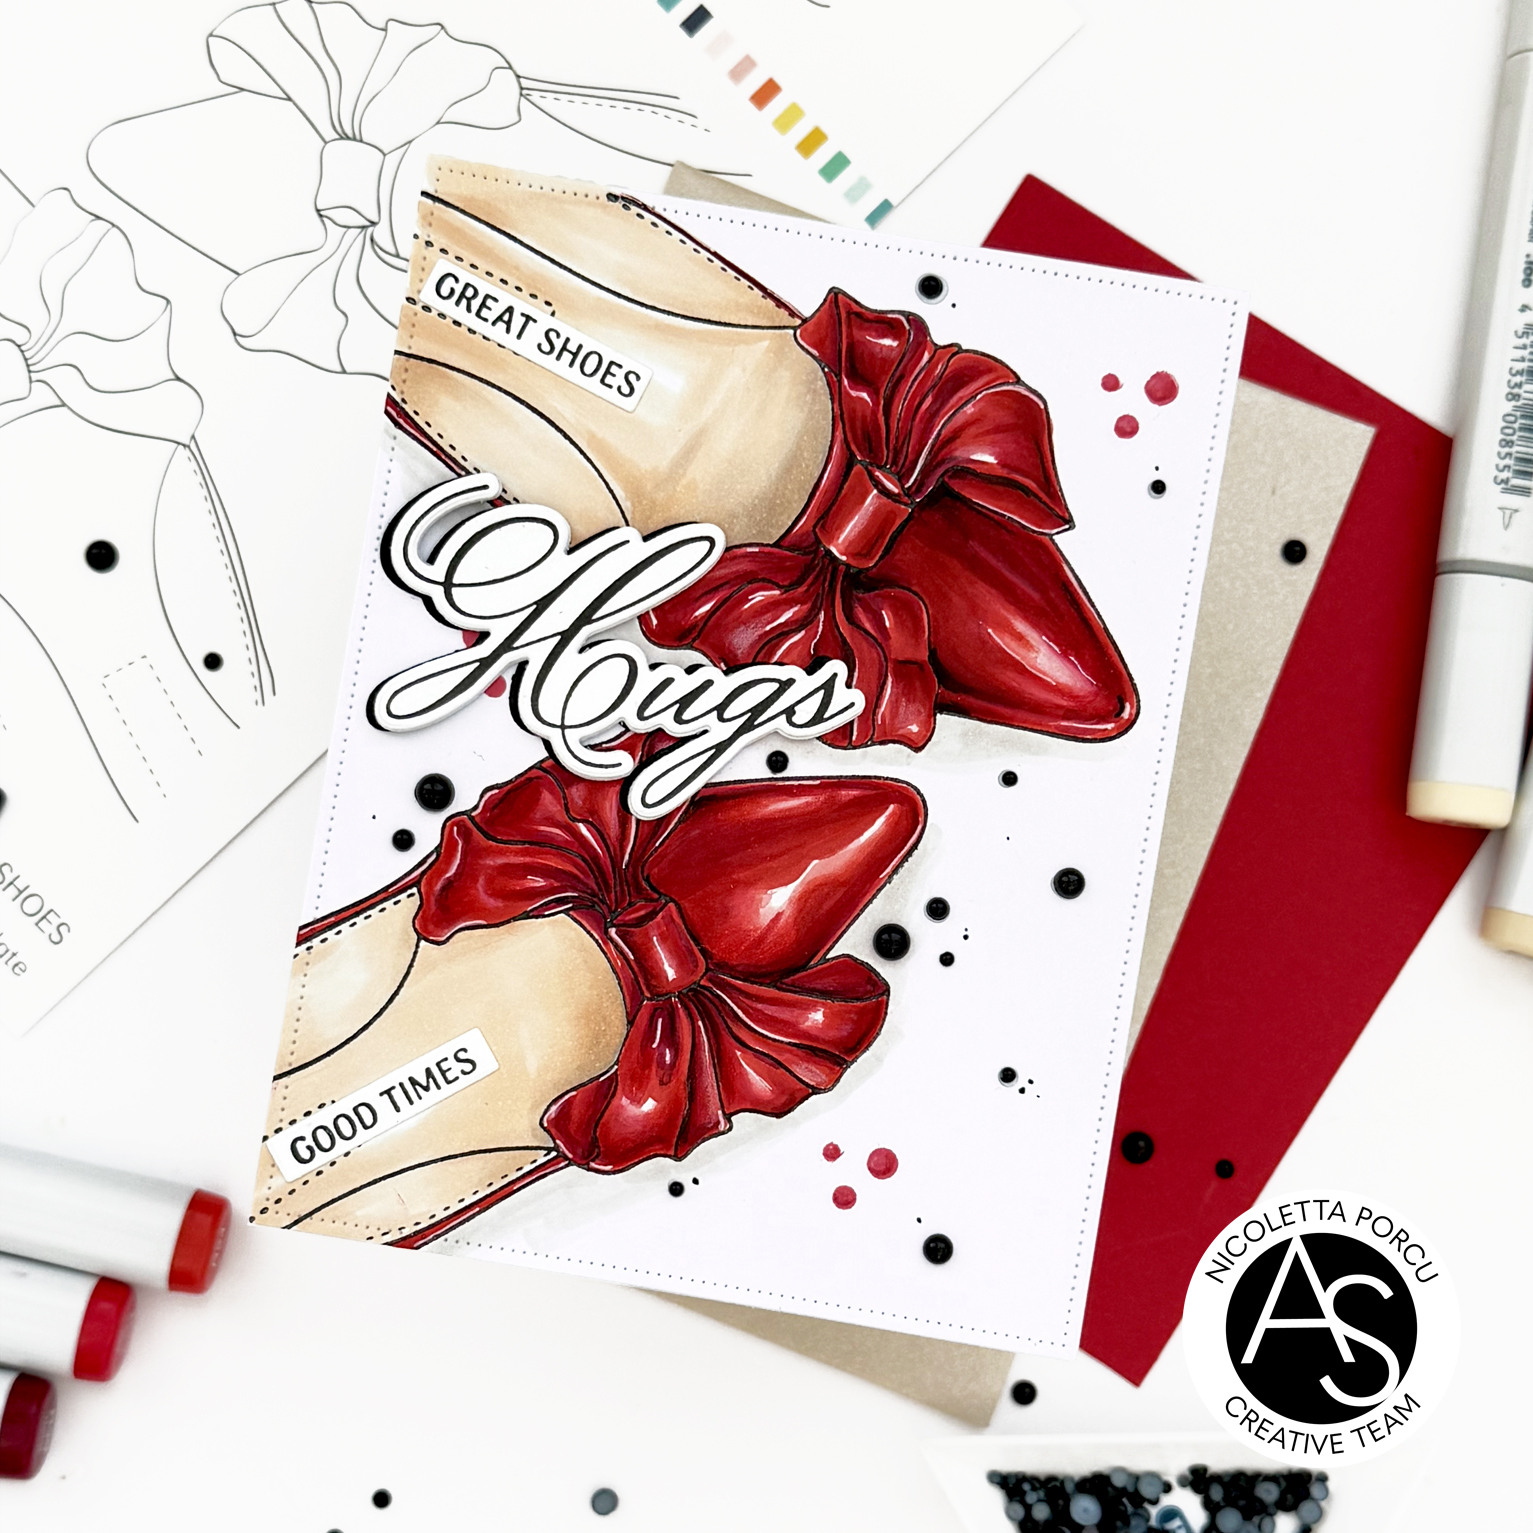
To make my card I started by stamping the Bow Shoes using the Bow shoes Press Plate on a white coloring paper; I place it on the Spellbinders Letterpress Betterpress System , I inked it using Memento ink black and I running it through the Spellbinder Six Platinum Machine to obtain my stamped and pressed shoes image.
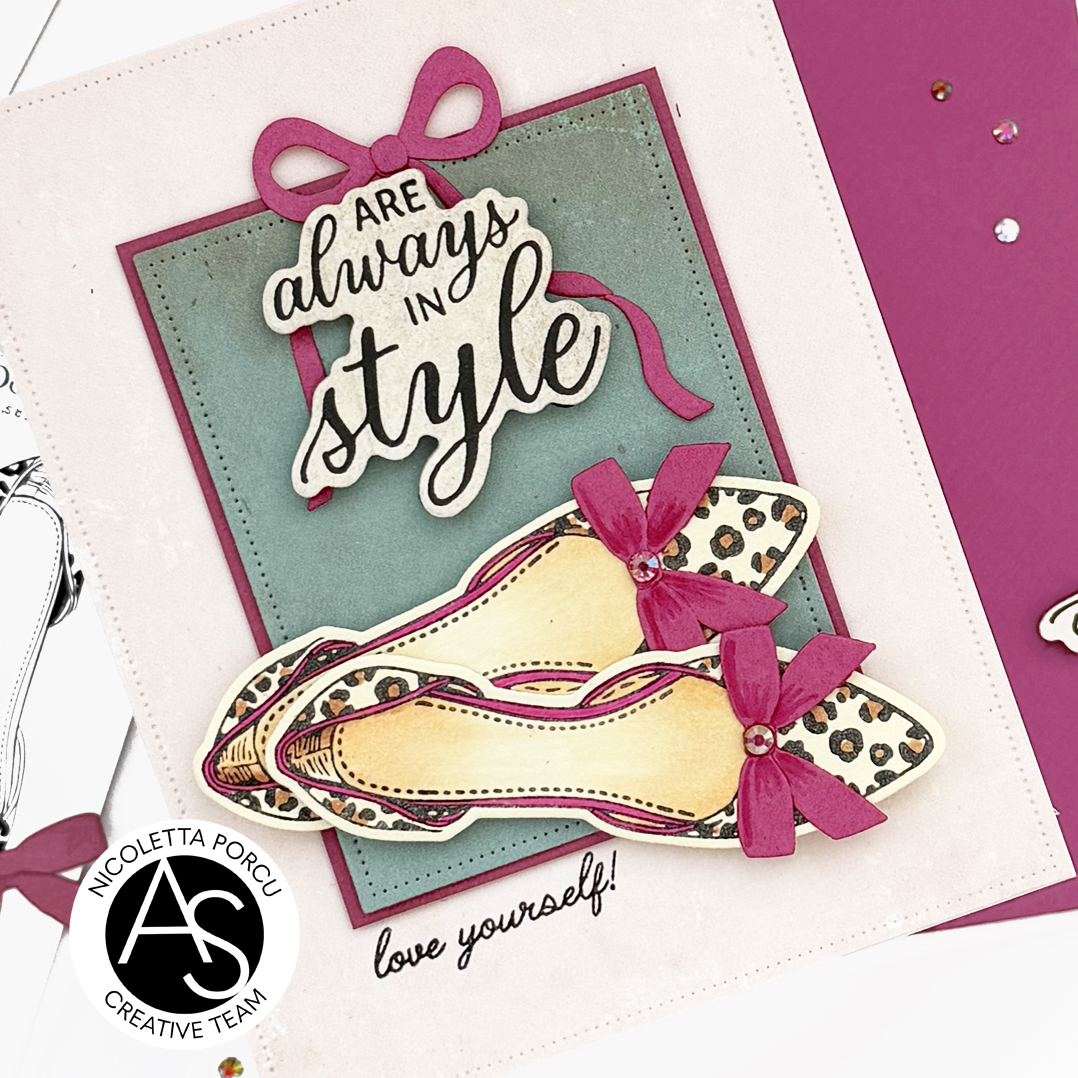
Next I colored the shoes using my beloved Copic Markers; I used some red shades and a little bit of black, I refined the details with some touch off Prismacolor pencils and a white gel pen.
Here the Copic colors I used:
R39/R29/R27/R24/R22/R21/R20/100
E22/E50/E53/W4/W2/W1
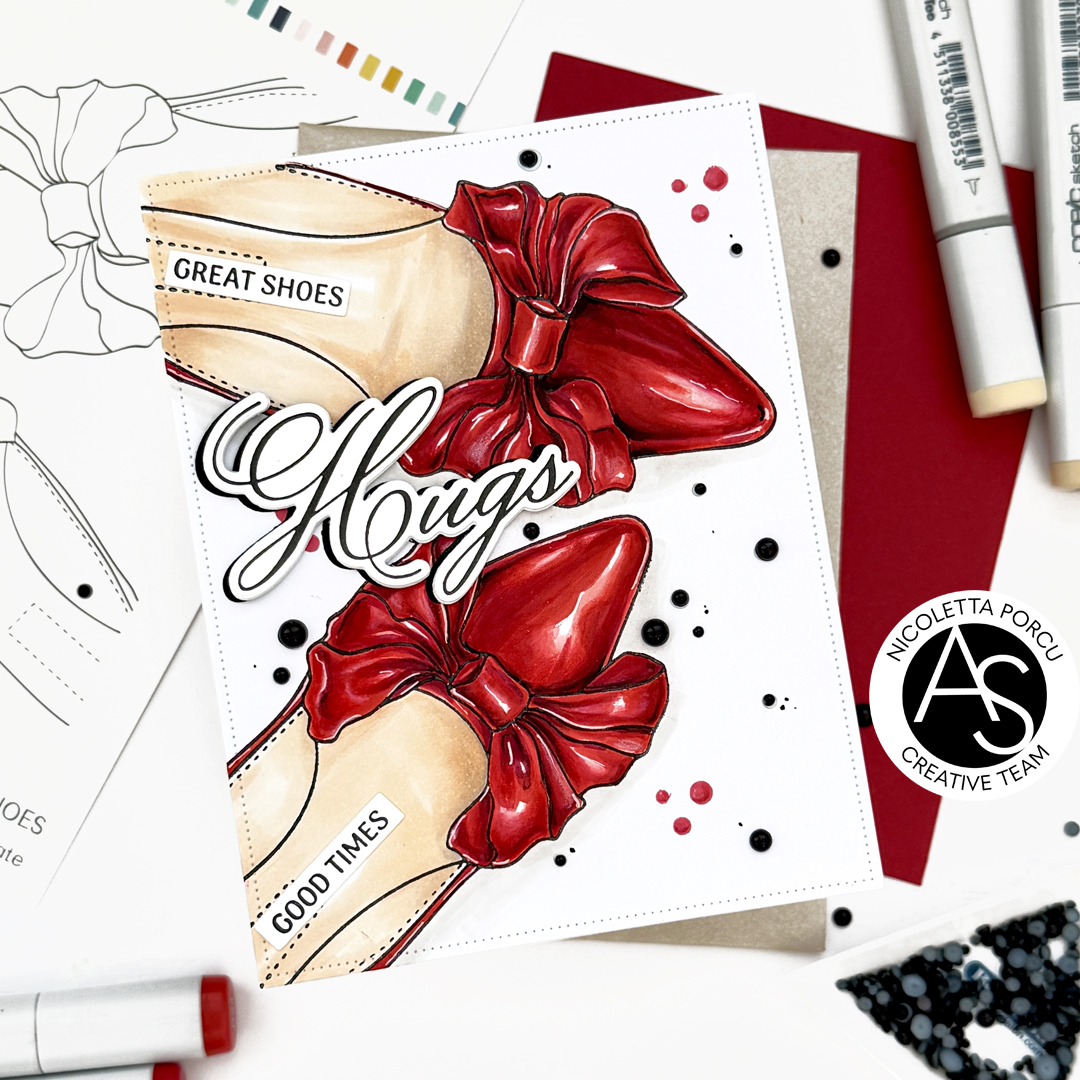
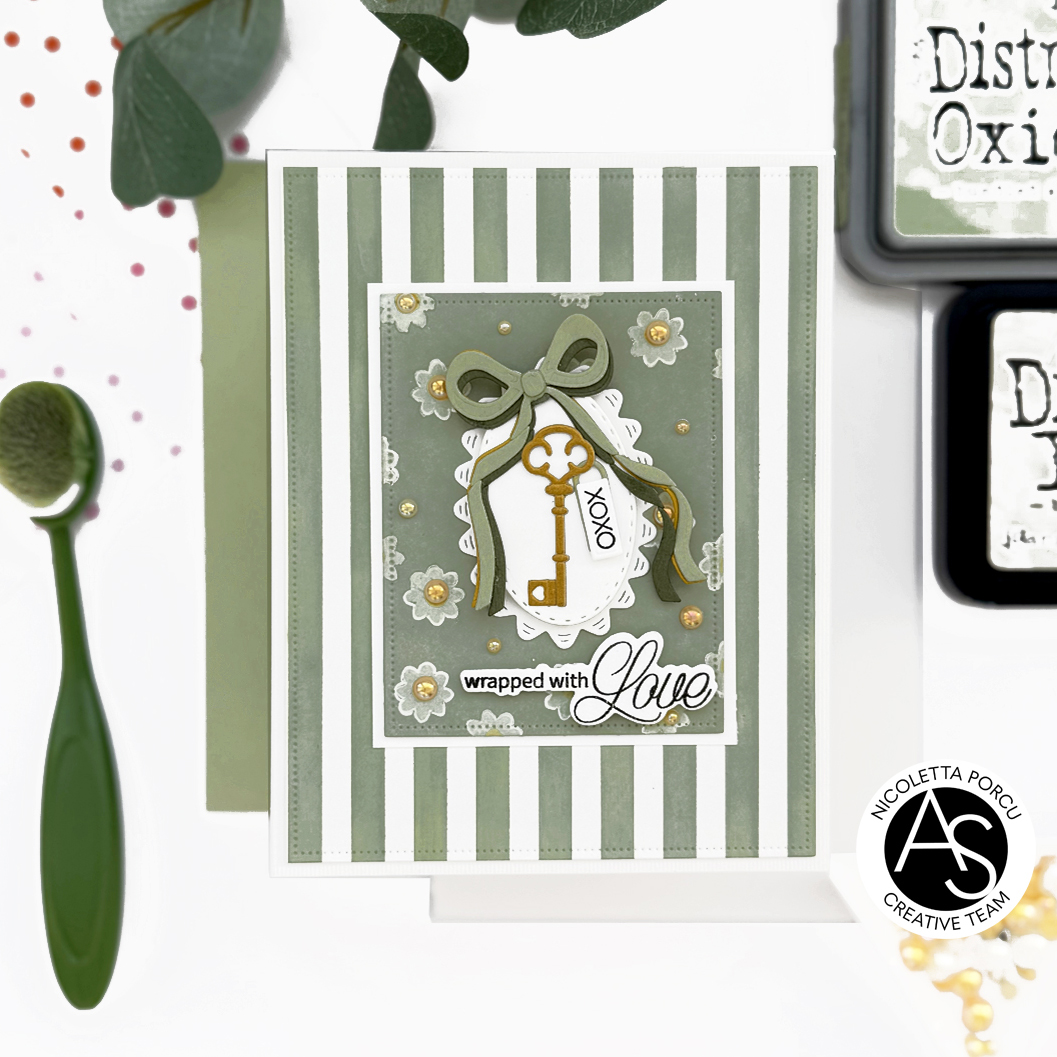
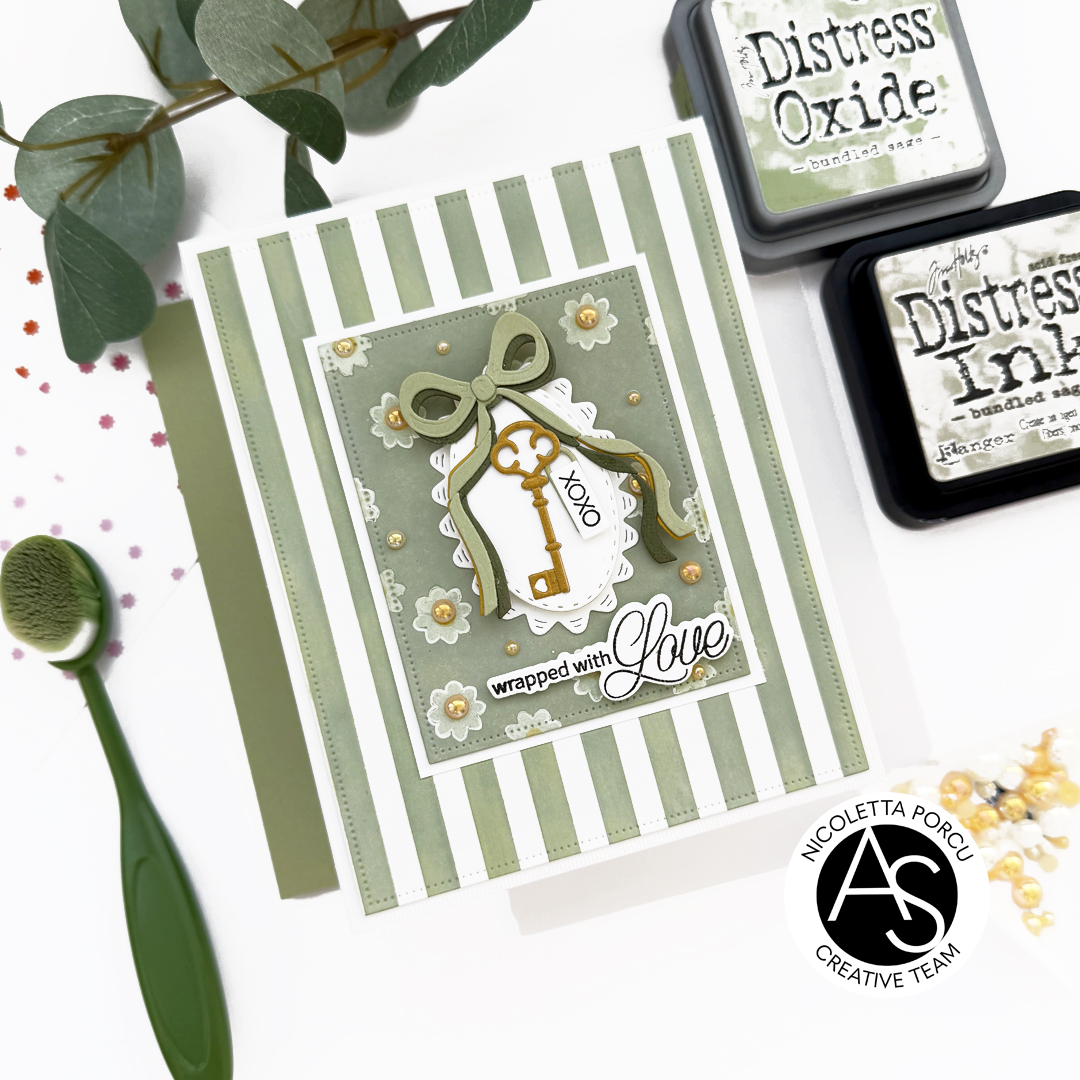
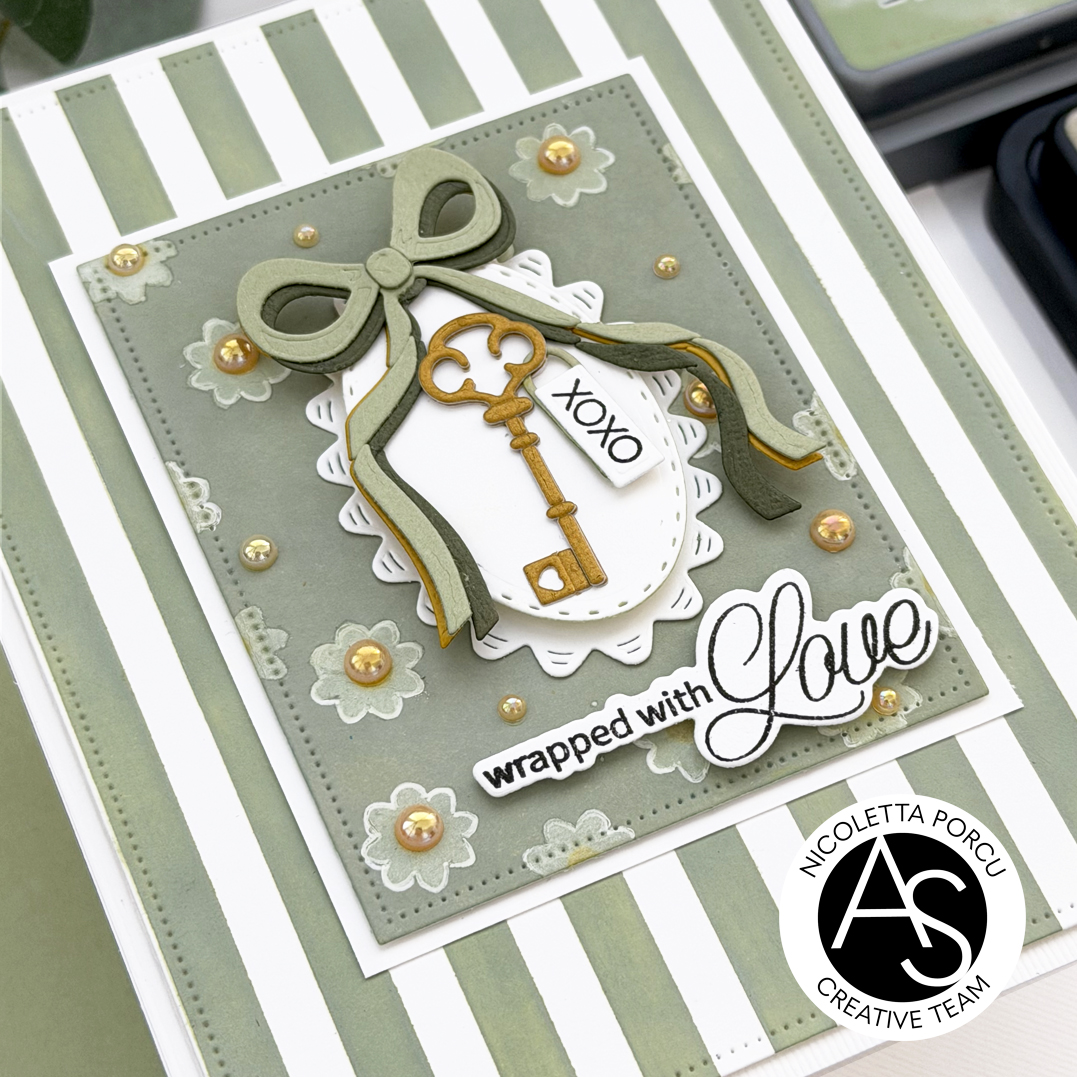
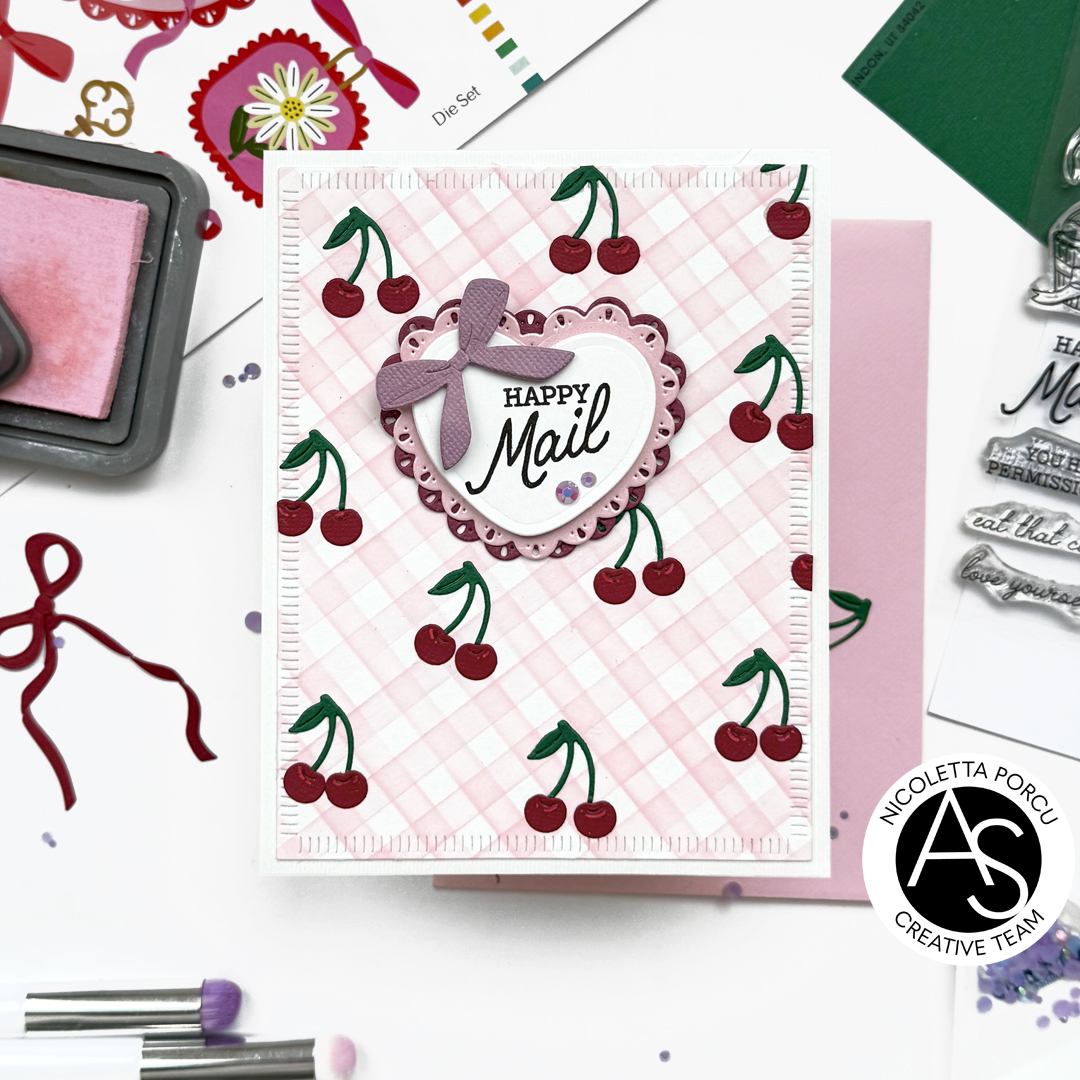
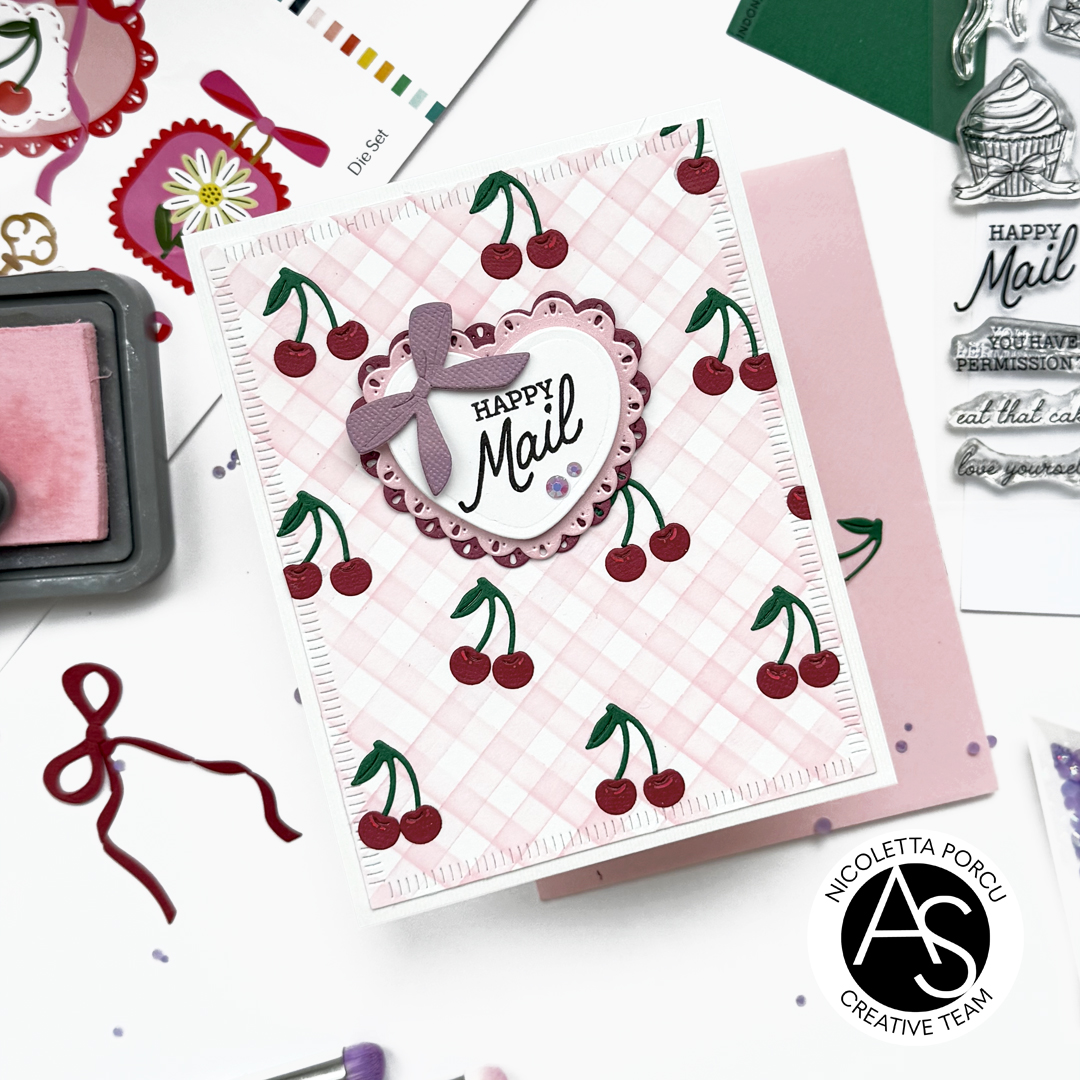
I continued by die cutting the shoes into a rectangle using the largest dotted die from the Nested Scalloped Frames die set and I stamped on it some red dots using a little stamp who is a part of the Wrapped With Love stamp set.
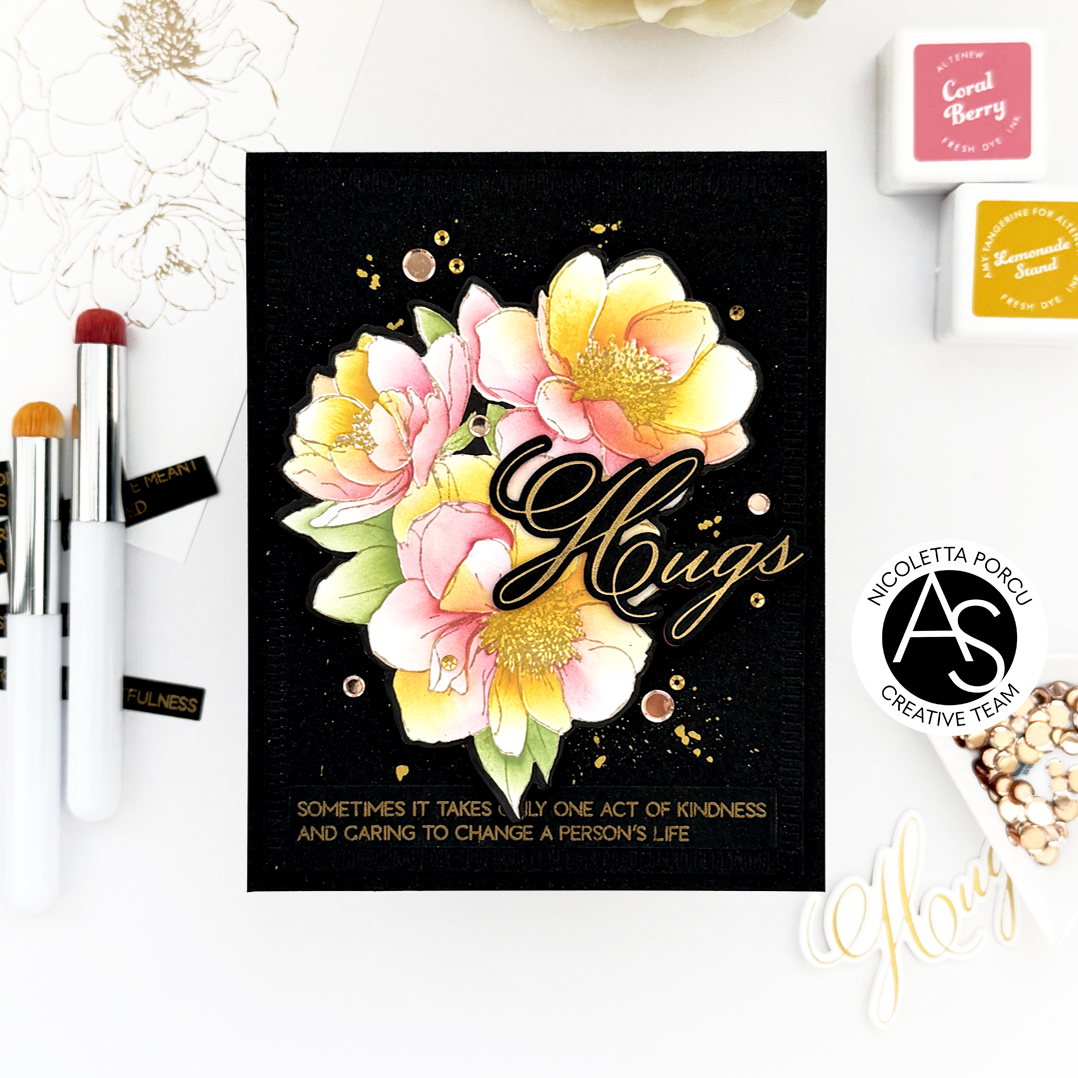
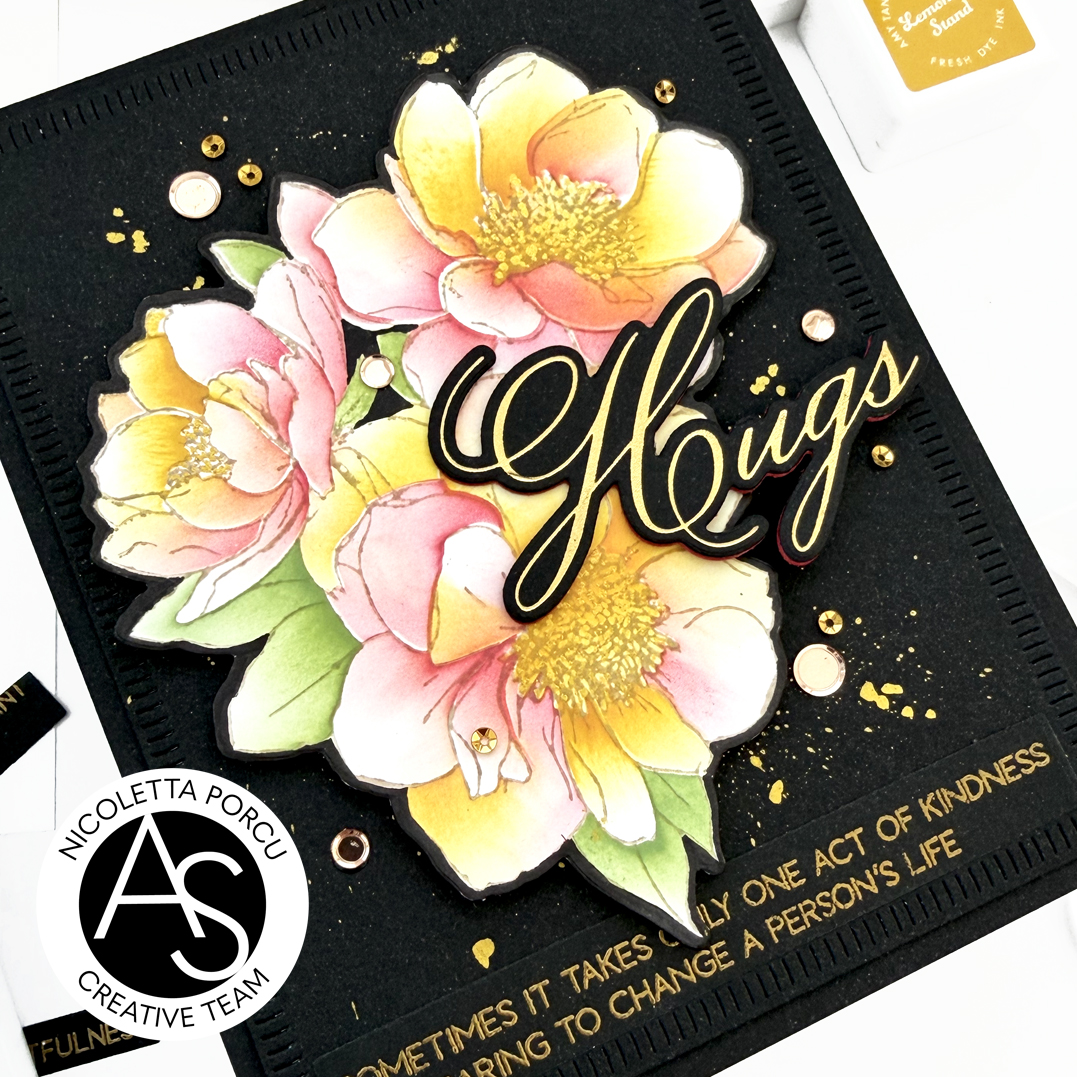
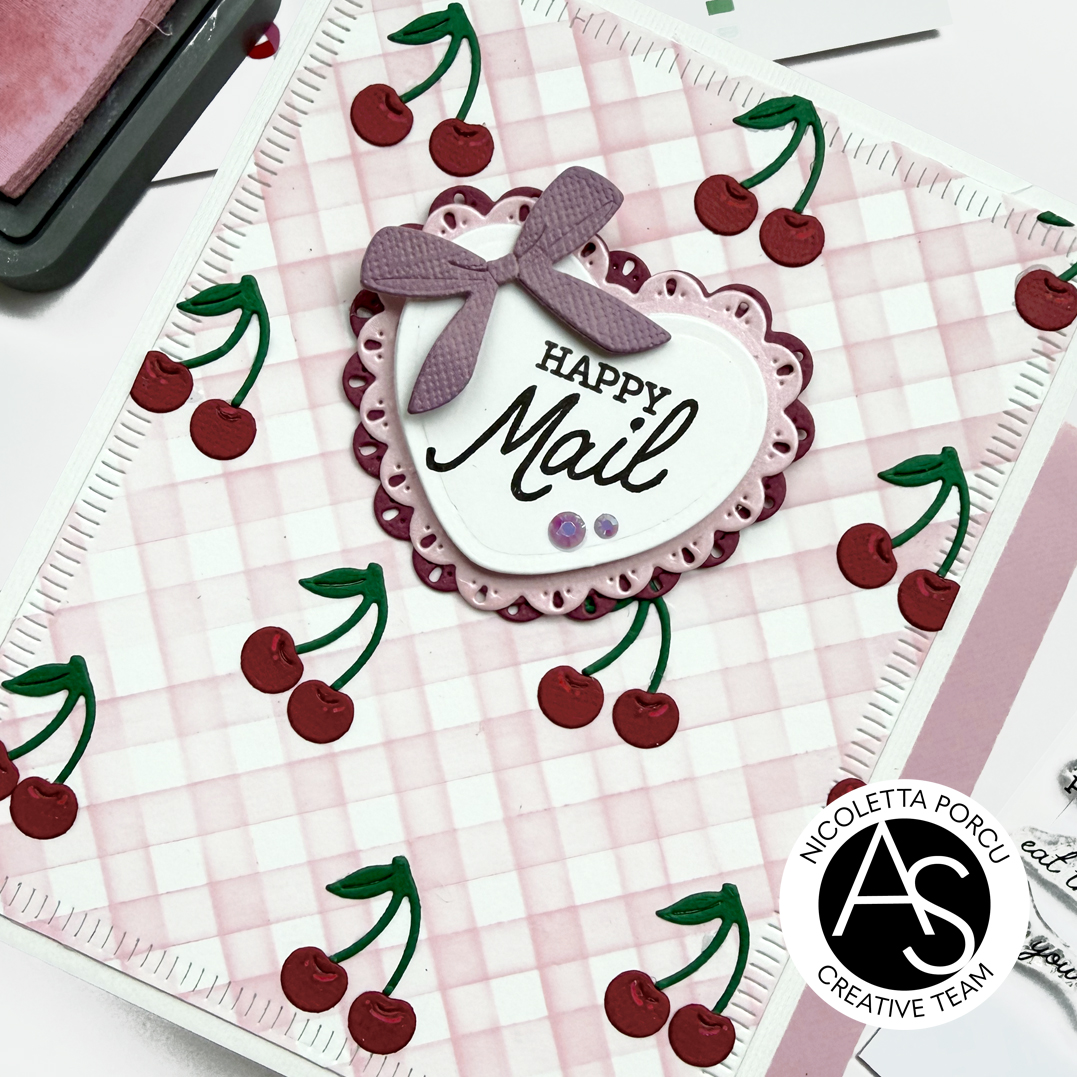
Next up I glued the rectangle over a white base card and I added the big Hugs sentiment I made using the Hugs die from the Hugs in Bloom Press Plate & die set , I die cut my sentiment in four layers I glued all together to add dimension; I glued the last black layer lightly staggered to give the outlined effect to the sentiment.

Over the shoes I added two string sentiment from the Shoes Sentiments Press Plate & die set.
As a last touch I added some black beads all over the card!
And that's is!
Below a recap of the products I used:
Bow Shoes Press Plate & Stencil Bundle
Shoes Sentiments Press Plate & die set
Nested Scalloped Frames die set
Hugs in Bloom Press Plate & die set
Hugs In Bloom Press/Hot Foil Plate/Die set and Stencil Bundle
Spellbinders New & Improved Platinum Six Die Cut and Embossing machine
Spellbinders BetterPress Letterpress System
You could find all of them on Alex Syberia Design UK shop and on the US Alex Syberia Design shop for the American friends.

Thank you so much for stopping by!